Customer-Managed Agents
Customer-Managed Agents allow you to self-host deployment agents bringing the same power and flexibility as Pulumi-hosted deployments. Self-hosting your agents comes with many benefits:
- Host anywhere: You can host the deployment agents anywhere to manage infrastructure, even within your fully private VPCs
- Any hardware, any environment1: Run the agents on any hardware of your choice and configure the environment that meets your needs
- Mix & match: You can use standard Pulumi-hosted deployments for your development stacks and use self-hosted Customer-Managed Agents for your private network infrastructure. You can mix and match to suit your unique needs
- Multiple pools: You can set up multiple deployment agent pools, assign stacks to specific pools, and scale agents dynamically to increase your deployment concurrency. Customers can have up to 150 concurrent deployments
- Meet compliance: You can configure the agents with the credentials needed to manage your infrastructure. This way your cloud provider credentials never leave your private network
1 Currently Linux and MacOS are supported
Customer-Managed Agents support all the deployment triggers currently offered by Pulumi Deployments such as click to deploy, the Pulumi Deployments REST API, git push to deploy, Review Stacks, and remote Automation API.
Using Customer-Managed Agents
Before you begin, ensure you have installed the Pulumi Github App and updated the source control settings of the stack you want to use Deployment agents. Docker is a requirement for running the agent.
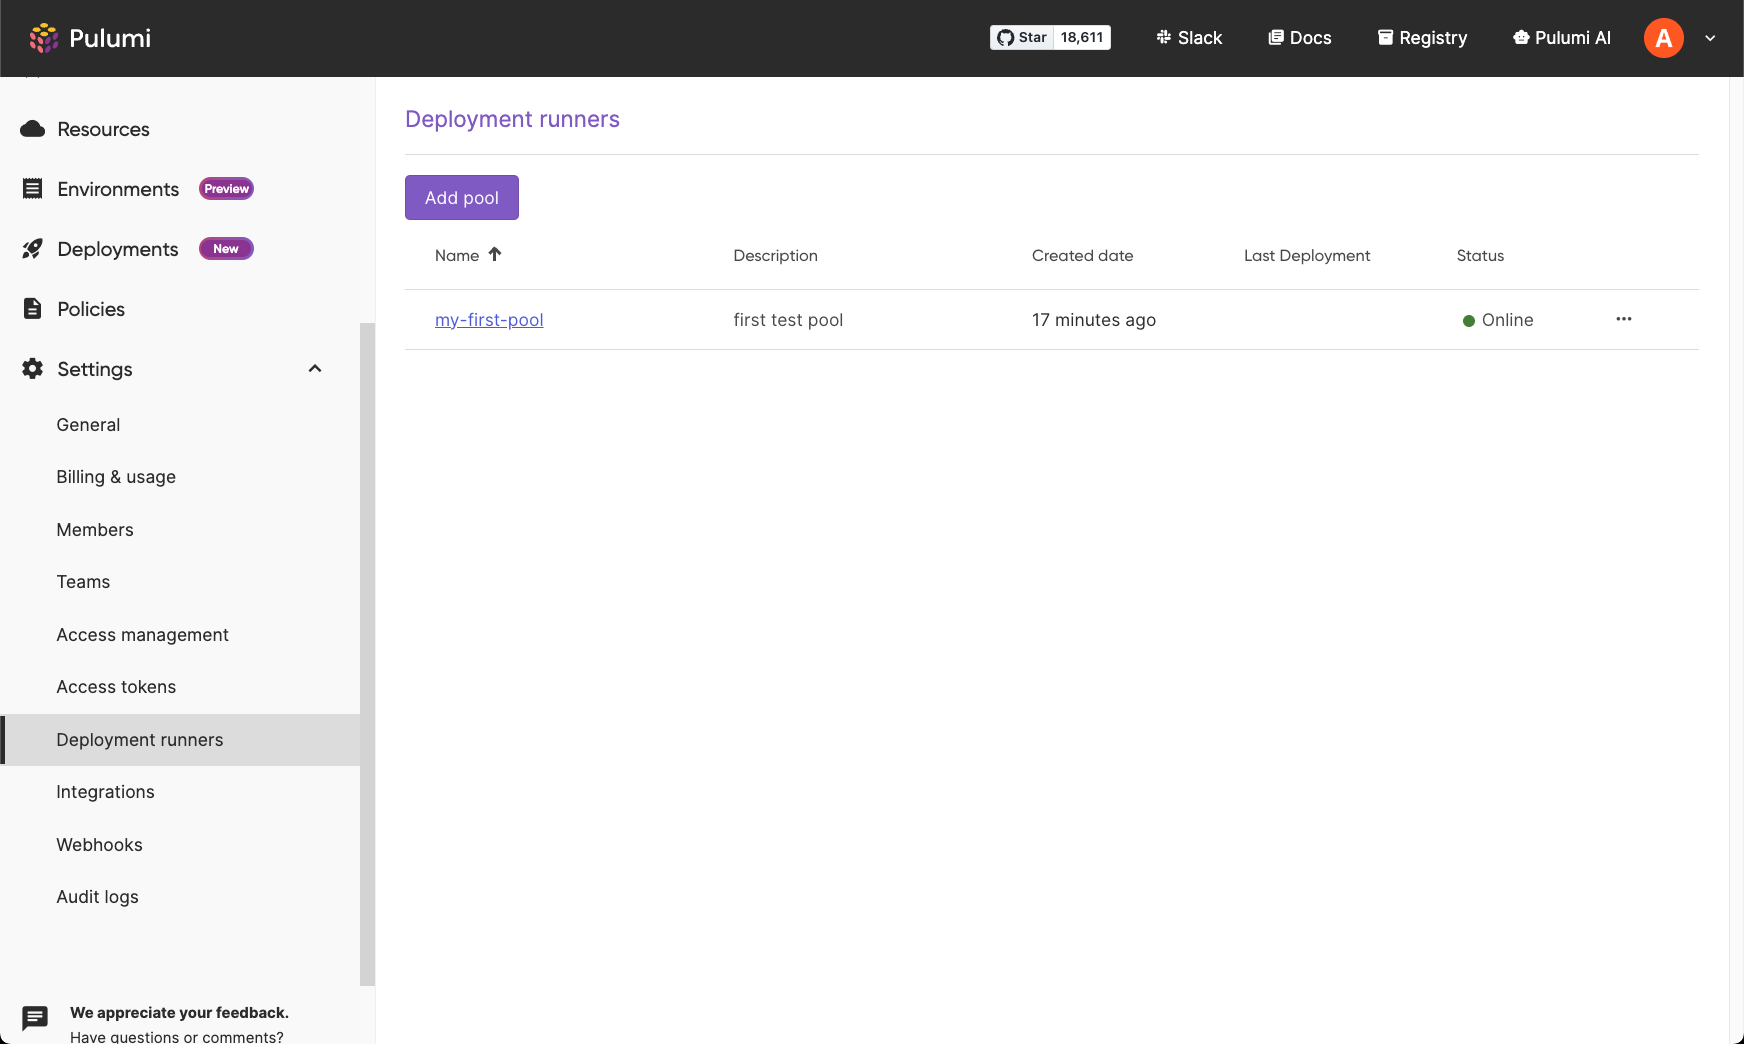
- Go to Deployment runners under Organization Settings
- Create a new pool. Ensure to copy and save the token
- Install the agents as per the instructions on the page
- Verify the agent status by refreshing the page
- Configure a stack to use the agent by going to the Deploy tab within Stack Settings, and selecting the pool you created under the Deployment Runner pool drop-down
- (Optional) Add more agents to the pool to increase concurrency by using the same token
- Verify setup by doing a ‘pulumi refresh’ through the Actions drop-down in your stack page

Agents poll Pulumi Cloud every 30 seconds to check for pending deployments and will disappear from the Pool details page 1-2 hours after being offline. On the deployments page, you can see all the deployments including pending deployments, and which deployment agents were used in a deployment.
Providing Credentials to Agents
There are two methods to provide cloud provider credentials to the agents:
Directly provide credentials to agents through environment variables configured in the host, or passing the environment variables when invoking the binary. Example:
VARIABLE=value customer-managed-deployment-agent runYou also need to update the
pulumi-deployment-agent.yamlconfiguration file by settingenv_forward_allowlist. The configuration file can be found in the directory where the agent is extracted.env_forward_allowlistexpects an array of strings. Example:token: pul-d2d2…. version: v0.0.5 env_forward_allowlist: - key_one - key_two - key_three
Thank you for your feedback!
If you have a question about how to use Pulumi, reach out in Community Slack.
Open an issue on GitHub to report a problem or suggest an improvement.
